After knowing what are the advantages and disadvantages of smart thermostats, chances are you will decide to buy one. The next thing to know is smart thermostat and installation.
Perhaps the question that will come to your mind is, “How do I install it myself at home?” Read this article until the end to know about smart thermostat and installation.
Smart Thermostat and Installation
Before finding out how to install this smart device, it’s good to be reminded a bit about it. This is the smart thermostat and installation:
What is a Smart Thermostat?
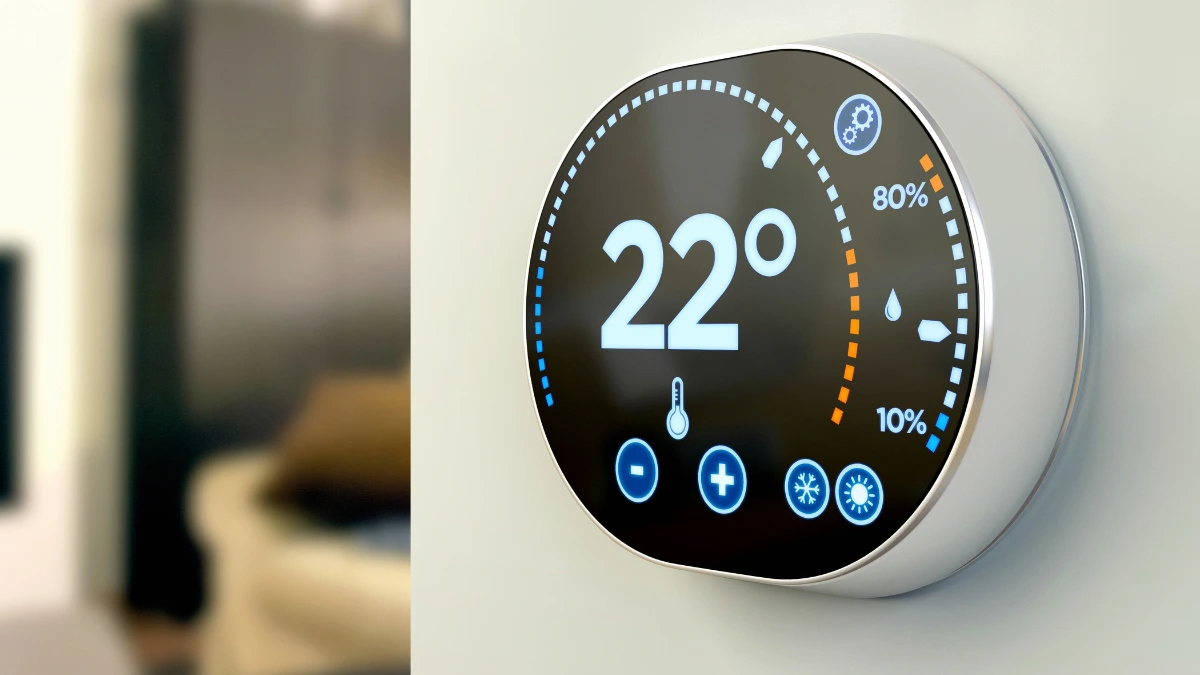
Smart thermostat is an electronic device that regulates temperature based on sensor assistance. This smart device is also connected to the internet via WiFi and can be connected directly to your smartphone or tablet.
With its connectivity, of course, you can set the temperature from anywhere, and schedule temperature settings according to your wishes. With the home automation system, this device can also recognize the user’s habit patterns and adjust the temperature based on your time and location.
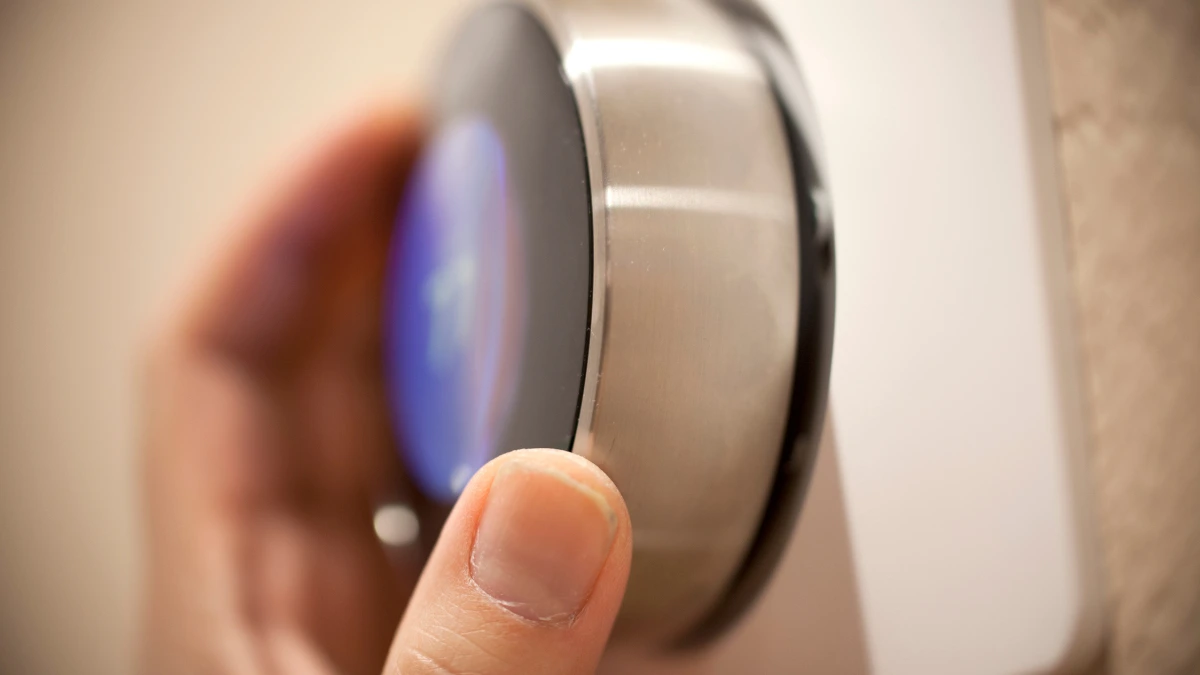
How to Do the Installation of a Smart Thermostat?
After reminiscing about this smart device. You can get a feel of what it would be like if you were to do the installation yourself at home. How can you do it? Here’s how you can install a smart thermostat:
1. Turn off the power
Before carrying out the installation, the first step you should take is to ensure there is no electric shock during the installation. This is why you need to turn off the power of the HVAC (Heating, Ventilation, Air Conditioning) system. This is necessary to ensure compatibility with other systems such as air conditioning.
2. Remove the old thermostat (if any)
If you have previously used a manual thermostat, you will need to remove the thermostat first. It’s easy enough to do by simply opening the front panel and disconnecting some of the wires that are connected. You can mark or photograph the wires to make installing the new thermostat easier.
If this is your first smart thermostat, just skip this step and go straight to the next one.
3. Installing the new thermostat
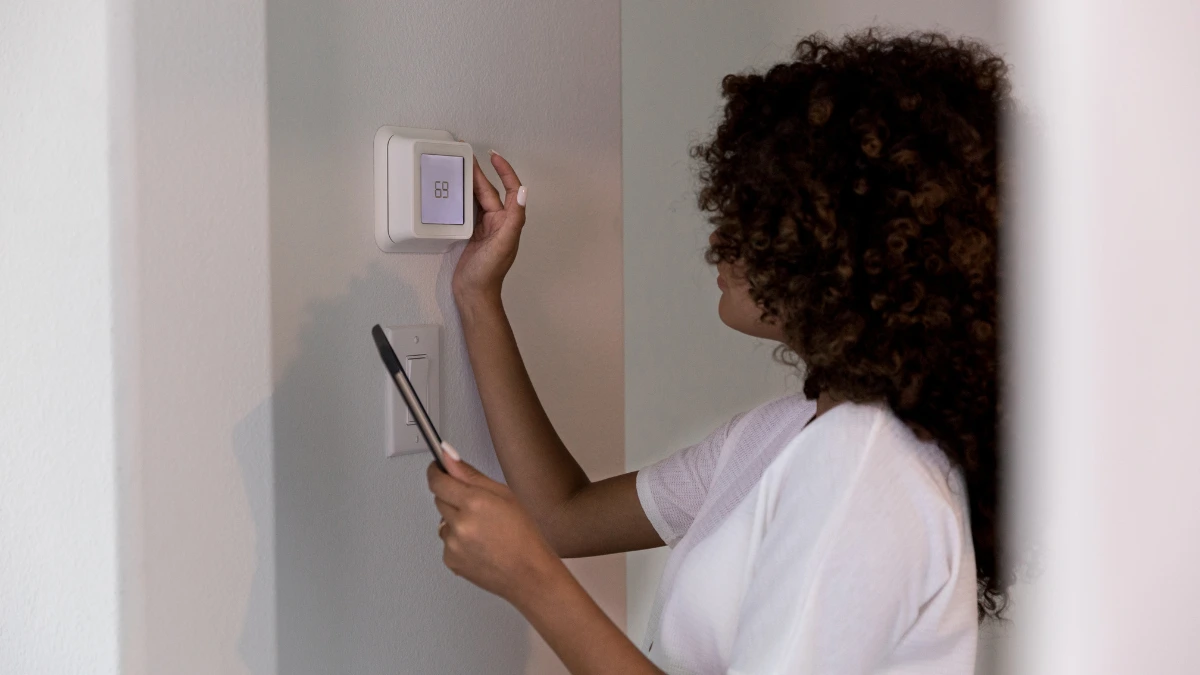
Attach the back plate of the thermostat to the wall, making sure it is level. Then connect the wires from the HVAC system to the corresponding terminals on the new thermostat. You can also read the included manual to ensure proper installation and avoid mistakes.
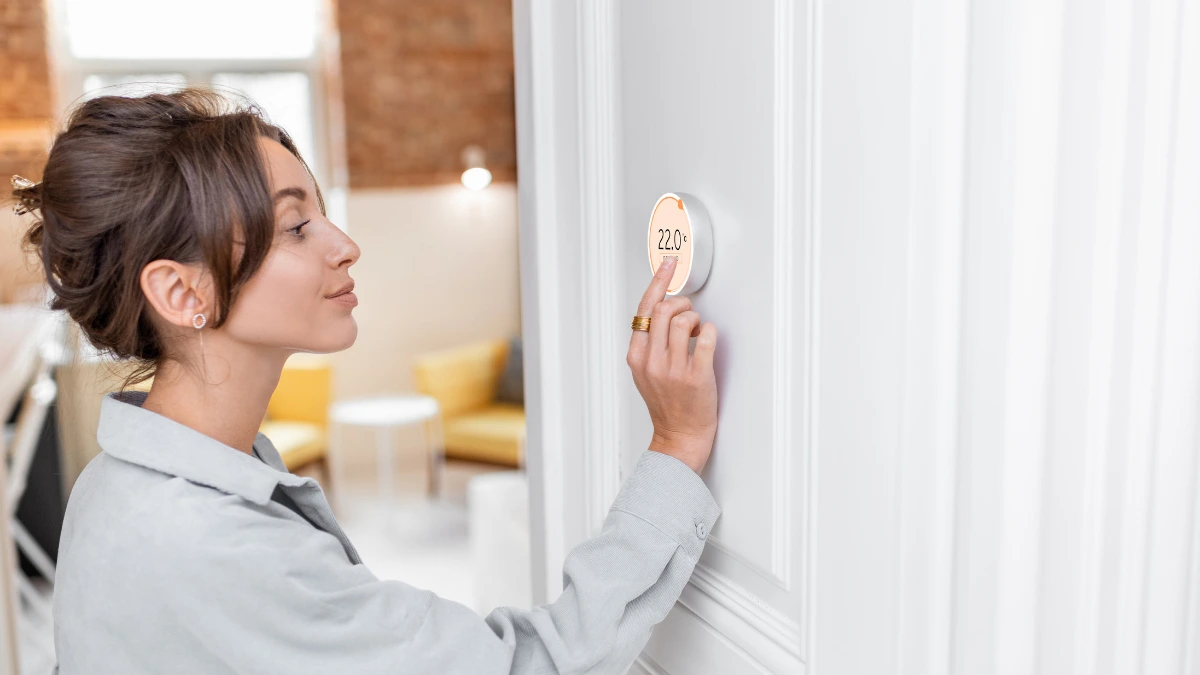
4. Doing the initial setup
You can turn on your home’s electricity once all the cables are connected properly. Start the initial setup by connecting the thermostat to a WiFi network. You can then download the app on your smartphone and follow the operating instructions to synchronize the AC and set your temperature preferences.
5. Test and calibrate
Once the installation is complete, you can test by turning on the app and changing the temperature. You also need to ensure that the WiFi connection is stable. If necessary, you can also perform calibration to ensure accurate temperature readings.
The following are the guides about smart thermostat and installation that you need to know. When you want to set up a smart thermostat, the things that you need to consider are turning off the power, doing the initial setup, testing, and calibrating the thermostat.
Another thing to note is that smart thermostat on the market uses WiFi technology; this technology must pass the certification test from the Directorate General of Digital Infrastructure (DJID).
With DJID certification, users can feel calm about using a smart thermostat device whose quality and security are guaranteed. For manufacturers or importers of smart thermostat devices, obtaining certification from DJID is a mandatory step before the device can be officially marketed in Indonesia.
To simplify the certification process, we are available to assist with this process as a reliable solution. [UN].