A dashboard camera or dashcam is now one of the important devices in supporting driving safety and comfort. Did you know that dashboard camera installation can be done independently without the need for installation services by technicians?
Dashboard camera installation can be done independently, especially for those of you who already understand the basics of electricity in vehicles.
To avoid the risk of errors and ensure the installation runs safely and neatly, make sure to read this article to the end to find out how to easily do dashboard camera installation.
The Steps for Dashboard Camera Installation
For dashboard camera installation, you can do it by yourself by choosing the right place to check and test dashcam functions. Here are the steps for dashboard camera installation:
1. Choose the installation location
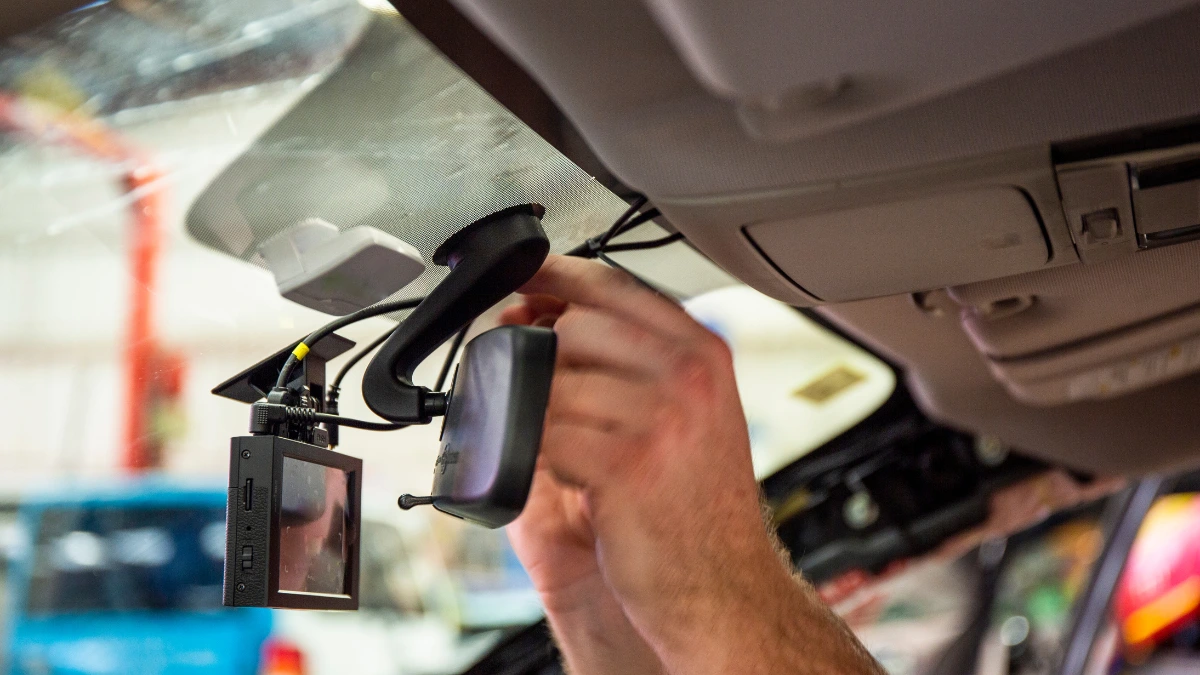
Choosing the right installation location is very important so that the camera does not interfere with the driver’s view and the camera’s viewing angle can capture the entire road plane.
The ideal position for the front dashcam is behind the center mirror, just above the center of the windshield. The aim is that if you are also using a rear dashcam, position the camera in the center of the upper rear glass, facing outwards.
2. Prepare the installation tools
In addition to preparing the dashcam camera to be installed, before installing the dashcam make sure you have the necessary tools such as the power cable and video cable, Power adapter, pry tool or plastic pry tool (to insert the cable), microSD card, and glass cleaning cloth.
Usually, all these materials are already available when you buy a dashcam so there is no need to bother buying them separately. Don’t forget to read the instructions for using the dashcam to help with the installation process.
3. Clean the glass surface and attach the dashcam
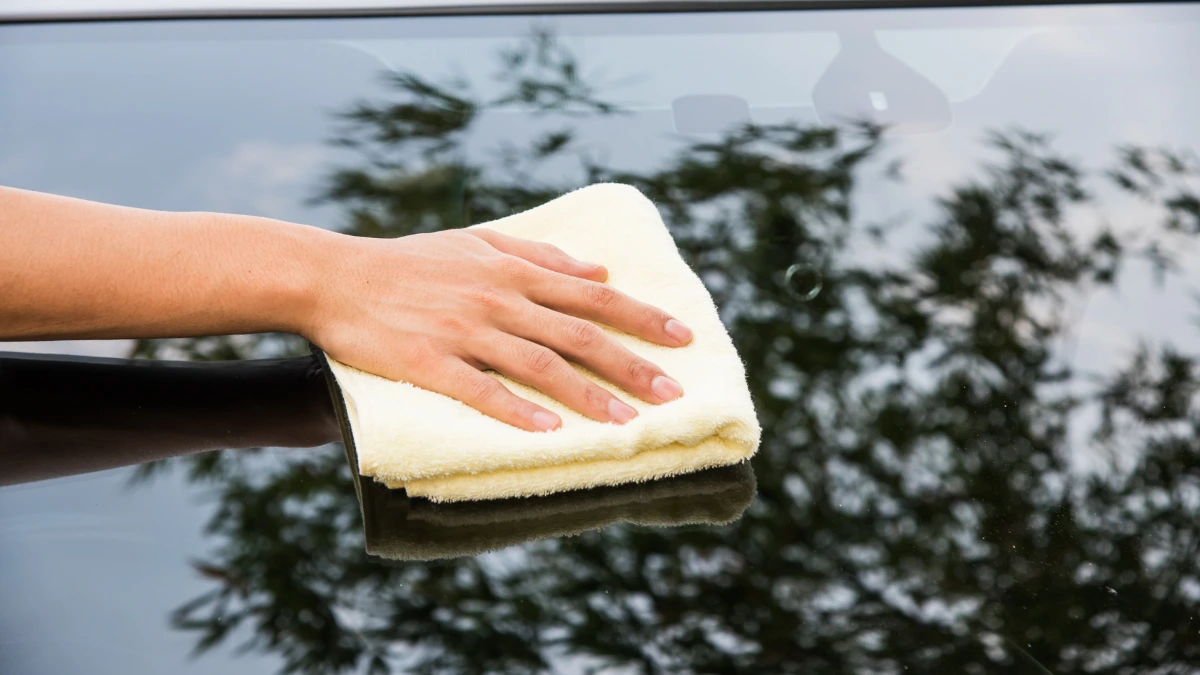
Use a microfiber cloth to clean the glass area before attaching the dashcam. Dust and dirt can make the camera adhesive less strong and risk it falling off while driving.
Remove the protective layer on the adhesive (usually made from 3M), then stick the dashcam to the designated position. Press gently until it sticks perfectly.
4. Cable route arrangement
For neat results, the cable route should be inserted between the car ceiling and the A-pillar. Use a pry tool to slightly open the interior lining and insert the cable into it. Make sure the cable does not hang down so that it does not interfere with your view or hands while driving.
The cable can be routed to the car’s power outlet (usually a cigarette socket) or the fuse box if using a hardwire kit.
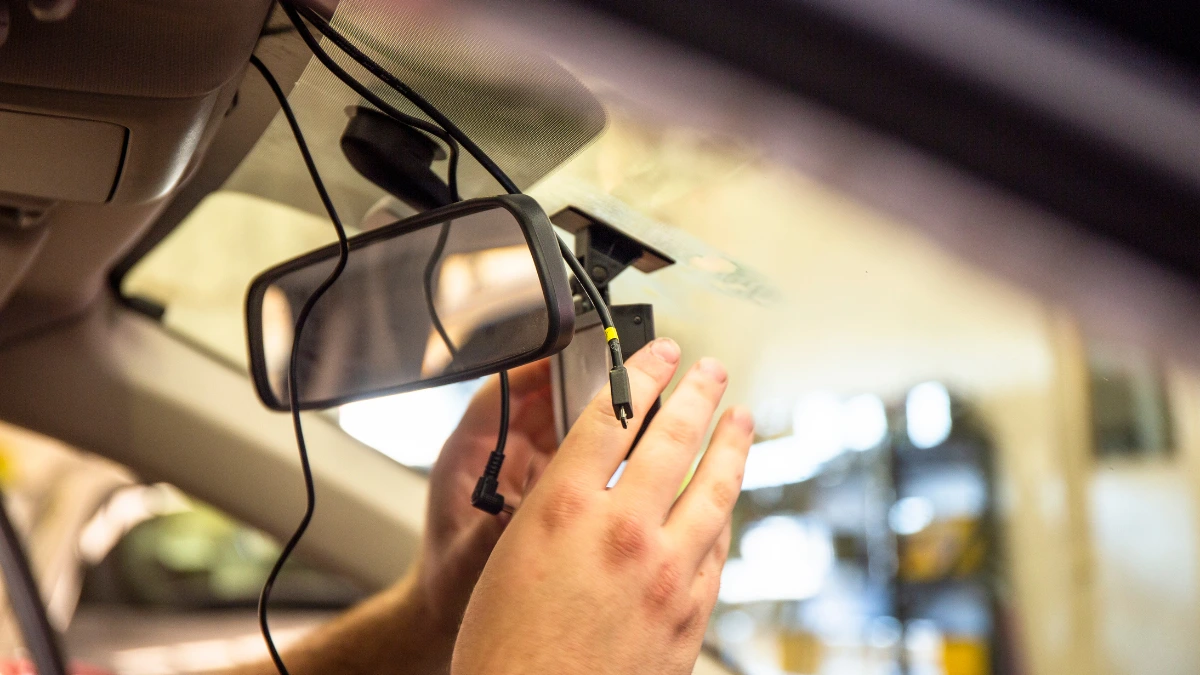
5. Connect the dashcam to a power source
The dashcam will only be able to connect once it is connected to a power source by connecting the power cable to the adapter and plugging it into the car’s cigarette socket. Some dashcams turn on automatically when the car is started, but some require manual adjustment.
This does not apply if you choose a dashcam that is integrated directly into the vehicle’s electrical system. For dashcams that are integrated into the vehicle’s electrical system, consider using the services of a professional technician so that the installation is safe and does not damage the vehicle warranty.
6. Initial dashcam settings
Before setting up the camera, make sure the microSD card is installed according to the capacity recommended by the manufacturer, usually at least Class 10 for optimal recording results.
After that, set the video resolution, activate the loop recording feature, synchronize the time and date, and then check the G-sensor feature or parking mode if available.
7. Check and test dashcam functions
After installing the dashcam, make sure all its functions are running properly. Do a test run by starting the car engine and making sure the dashcam turns on automatically and records well. Check the recording to make sure the viewing angle is correct.
Those are the seven steps for dashboard camera installation that you must know to do by yourself. Another thing to note is that the dashboard camera on the market uses WiFi technology, this technology must pass the certification test from the Directorate General of Digital Infrastructure (DJID).
With DJID certification, users can feel calm about using a dashboard camera device whose quality and security are guaranteed. For manufacturers or importers of dashboard camera devices, obtaining certification from DJID is a mandatory step before the device can be officially marketed in Indonesia.
To simplify the certification process, we are available to assist with this process as a reliable solution. [UN].