How to properly install mosaic tile for swimming pool? Mosaic tile has become the choice of many people for their swimming pool.
This is not without reason, swimming pools that use mosaic tiles have their own charm that makes them the choice of many people.
Compared to ceramic tiles, mosaic tiles also offer more advantages, such as being less prone to cracking and fading.
In addition, mosaic tiles are also more resistant to chemicals that are usually used to treat swimming pool water and are also resistant to UV rays.
Therefore, mosaic tile is more widely used because it can maintain the beauty of your swimming pool for a longer period of time.
However, mosaic tile is also renowned for its difficulty in installation. Not everyone can install mosaic tile because it requires special skills in installation.
That’s why, in this article today we will give you a guide on how to properly install mosaic tile for your swimming pool, let’s dive in (yup, it’s a pun)!
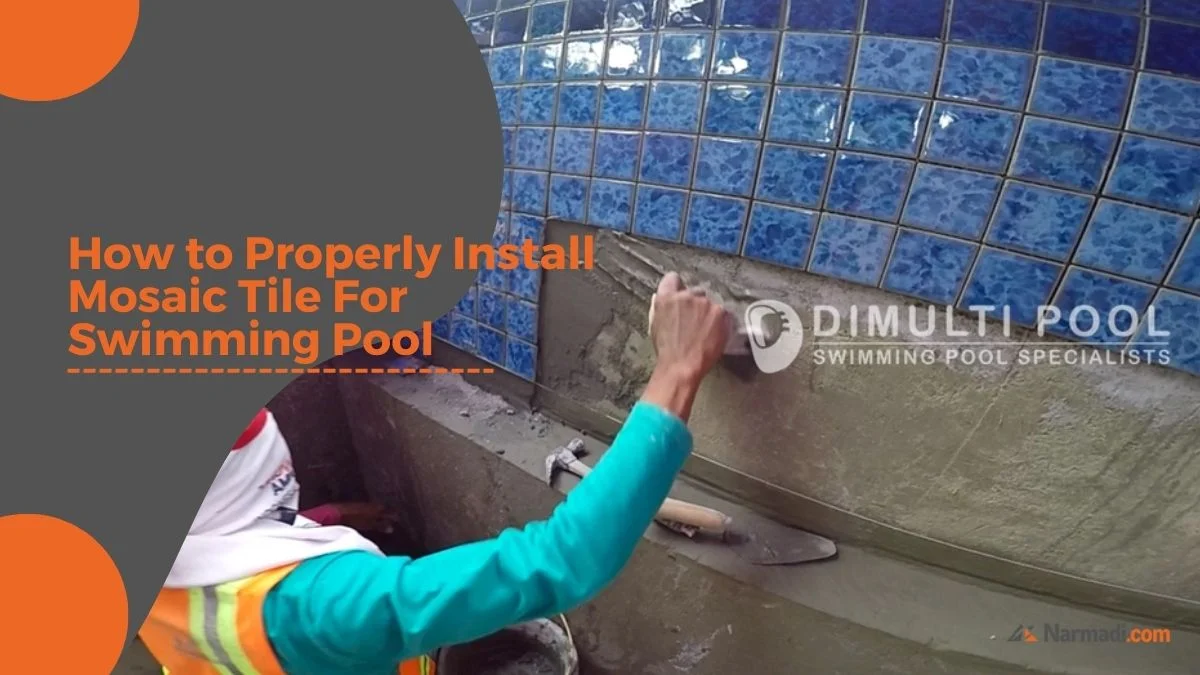
How to Properly Install Mosaic Tile for Swimming Pool

As we have discussed earlier, the installation of mosaic tiles for swimming pools requires specialized experts so that the installation can run smoothly without any defects.
In addition, special tools and materials are also required for the installation of mosaic tiles for swimming pools, in order to get maximum results as well.
If the wrong materials are used and the installation is not done by an expert, this can cause the mosaic to fall off, or seep into the pool structure which will damage your entire pool.
That’s why it is advisable to let the expert handle it, such as a swimming pool contractor.
1. Preparing the Right Tools and Material
The first step in installing mosaic tiles for your swimming pool is to prepare the tools and materials.
The tools you have to prepare are a putty knife, bucket, nylon brush, and nylon thread that will help you in installing the mosaic tile.
The materials themselves are several types of cement, such as:
- Portland Cement (regular cement)
- White Cement
- Adhesive
- Water
- Waterproofing Agent
The quantity of materials and tools must also be adjusted to the number of workers and the size of the swimming pool where the mosaic tiles will be installed.
2. Ensure That the Wall and Floor of The Swimming Pool is Flat and Smooth
The second is to ensure that the floor and walls of the swimming pool to be fitted with mosaic tiles are flat and smooth.
This process is crucial to achieving a quality and functional finish.
A flat and smooth surface plays a major role in ensuring that the mosaic tiles can be installed properly and give a consistent and aesthetically pleasing appearance.
Unevenness in the surface can lead to uneven tile installation, which not only disrupts the visual appearance but can also reduce the overall appeal of the pool.
In addition, a smooth surface provides optimal adhesion for the adhesives used in tile installation.
Uneven surfaces can cause the adhesive material to not adhere well, potentially making the tiles easy to come off or crack over time.
By ensuring that the surface is completely smooth, the adhesion of the adhesive will be better, thereby increasing the tile’s resistance to various stresses.
Also Read: “Things to Pay Attention To When Building a Swimming Pool Foundation“
3. Waterproofing
After making sure everything is level, the first thing to do is to apply a waterproofing agent to the entire floor and walls of the swimming pool.
This is to avoid water leakage to the pool wall that can damage the overall structure of your swimming pool.
4. Installing
Next is installing the mosaic tile, use a nylon thread as a guide so that the mosaic installation can be done straight, flat and precise.
Uneven and imprecise installation can reduce the aesthetics of your swimming pool. What’s worse, this imprecise installation can cause leaks that will damage your swimming pool over time.
After that, you can coat the wall with a mixture of cement, adhesive and water. This step is important to ensure that the mosaic tiles are sturdy and durable.
The mixture of cement, adhesive and water used in this process serves as a protective layer that strengthens the adhesion of the tiles to the pool wall.
In addition, it fills the small gaps between the tiles, reducing the chances of water seeping under the tiles or damaging the structure behind them.
For maximum results, it is recommended to use a layer of approximately 2 cm thick to produce maximum adhesion.
Other than that, paying attention to the ratio between the three ingredients is also important.
This mixture should be mixed to the ideal consistency. neither too thick nor too liquid, so that it is easy to apply but still provides strong adhesion.
Install the mosaic tile while the mixture is still wet and press gently to ensure the mosaic tile is firmly attached to the wall/floor.
Wait for approximately 6 hours to ensure that the mixture is completely dry and the mosaic is firmly attached.
So there you have it! A guide on how to properly install mosaic tile for swimming pool!
It is recommended that you call a professional to install a mosaic tile for your swimming pool. And who else but dimultipool that is the best swimming pool builder in Jakarta?