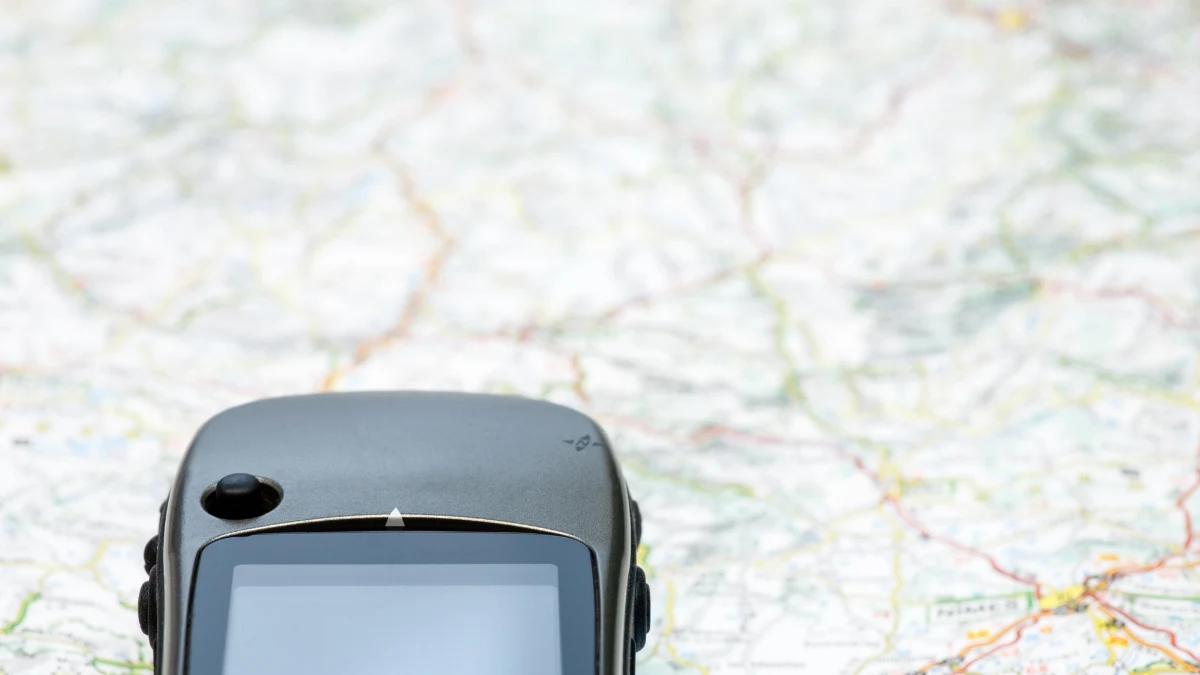
The first question that arises in navigating in the wild is how to use handheld GPS (Global Positioning System). This is a natural thing because GPS is equipped with a display and various types of buttons that need to know how to use that.
To ensure your outdoor activities in challenging areas remain safe, make sure you know how to use handheld GPS.
What to Prepare Before Using a Handheld GPS?
Before knowing how to use handheld GPS there are several things that need to be prepared so that its use can be maximized. Here are some things that need to be done:
- Fully charge the battery: Although handheld GPS batteries have a long lifespan, it is still a good idea to fully charge them before use.
- Carry spare batteries: If your device uses replaceable AA or lithium batteries, it is a good idea to carry spare batteries.
- Set the size and time zone: Adjust the distance unit (meters, kilometers) and time zone to make the navigation data fit your needs.
- Calibrate the compass and altimeter: Setting the compass and altitude meter before use is a must for more accurate results.
- Enable track log and save waypoints: It is important to enable this feature before the trip so that you can easily return to your starting point if you get lost.
How to Use Handheld GPS?
Using this navigation device is not difficult, you can follow these steps to find out how to use handheld GPS:
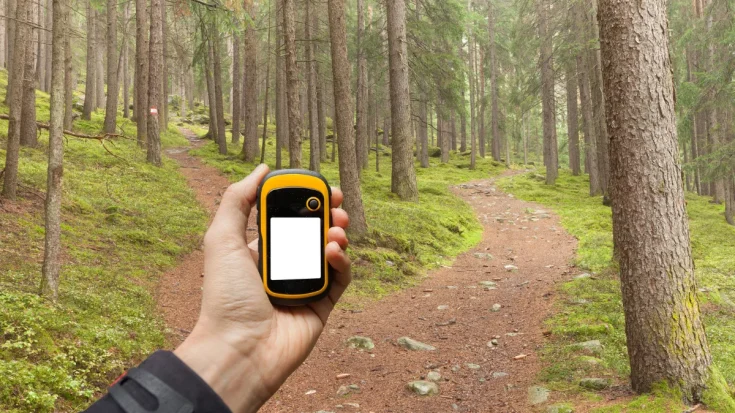
Turning on the device and connecting to satellite signals
The first step in using a handheld device is to turn it on and connect to satellite signals. It takes a few seconds to minutes to connect to a satellite signal depending on the sky conditions.
While searching for a signal, the device will display the message “Acquiring Satellite” and there will be an indication of the satellite signal strength once connected. Make sure you are in an open area away from buildings or tall trees to better connect with satellite signals.
Viewing your current position
Once the GPS device has connected to the satellites, the screen will display a digital map of your current position. The information includes coordinates, altitude, and facing direction. Some devices also include information on weather conditions and estimated travel time to your destination.
Marking waypoints
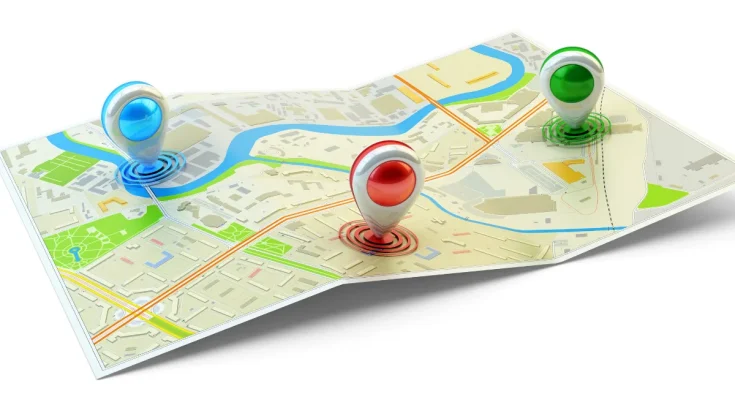
Marking waypoints is important when traveling in the great outdoors. You can mark important locations such as the starting point of a hike, water sources, rest areas, or the final destination.
You can have “Mark Waypoint” or similar on the device. You can also give clear names to the marked points for easy identification while traveling.
Create a travel route
With some waypoints already selected, you can reference your travel route. Select the “Create Route” or similar option on the device to guide you to walk from one waypoint to another in sequence.
Enable track log
Enable the “Track Log” or similar feature on the device. This feature will automatically help record your journey and view the distance traveled. It can also help you get back on track, or if you want to make the same trip in the future.
Navigate with a compass and ETA
To help you orient yourself use the digital compass display. You can look at the cardinal directions to ensure that you are moving according to the route you have created.
You also need to look at the ETA (Estimated Time of Arrival) to know how long you’ve been walking and how long it will take you to reach your destination.
That’s how to use handheld GPS and some things to note before using it. Other things to note are that you should never neglect calibration at the beginning, carry a backup of physical maps or offline maps on the handphone, use map zoom for detailed navigation, check the signal regularly, and don’t panic if you lose the signal.
If you are hesitant to use GPS in the outdoors, it is a good idea to use it first in a safe area. You can become more proficient in using all the features if you use it frequently.